Two Easy Methods to Clone Windows Server 2016 to SSD
Need to upgrade your server’s hard drive without reinstalling Windows? AOMEI Cloner lets you clone Windows Server 2016 (including SBS and other editions) to a new hard drive, keeping your OS, settings, and applications intact.
Last Updated April 28, 2025
It is advisable to clone Windows Server 2016 to SSD or new hard drive to make good use of the operating system. Whether you're managing a Small Business Server (SBS) or a home server, cloning ensures a seamless transition with zero downtime.
Best Cloning Software for Windows Server 2025/2022/2019/2016
Windows Server 2016 includes Windows Server Backup, but it doesn’t support direct cloning. While backups require restoration, cloning lets you boot directly from the new drive—saving time and hassle.
For a fast, secure clone, AOMEI Cloner is a reliable choice. It works without interrupting running applications and supports both System Clone (OS-only migration) and Disk Clone (full drive copy). Here are some highlights of this Server cloning software:
- Intelligent Cloning: Copies only used sectors, skipping empty space for faster cloning.
- MBR/GPT Disk Cloning: Supports MBR/GPT disk conversion during cloning for legacy/UEFI compatibility.
- Hot Cloning (Zero Downtime): Clones Windows Server 2016 while it’s running, no need to shut down services. Runs silently in the background without affecting server performance.
- SSD Optimization: Auto 4K alignment (critical for SSD performance and longevity).
- Flexible Storage Support: Clones to NVMe SSDs or USB 3.0 drives.
Download AOMEI Cloner now and learn how to use it to clone disk in Windows Server below.
How to Clone Windows Server 2016 to SSD
Before You Start:
✔ Connect the target SSD (internal or external).
✔ Back up important data (cloning overwrites the target disk).
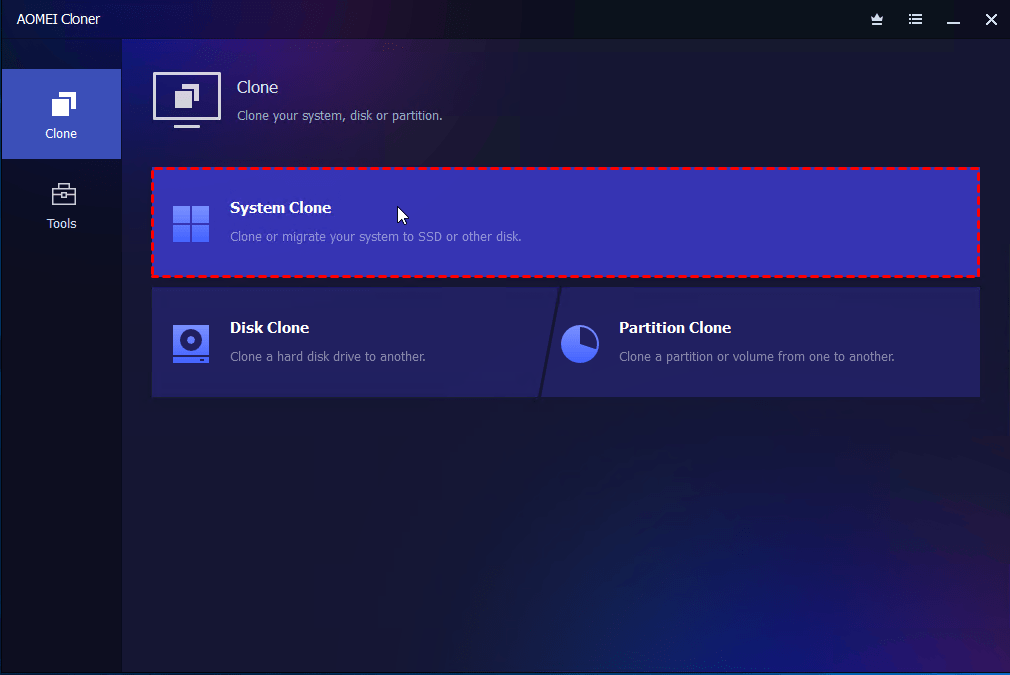
Method 1: Windows Server 2016 Clone Only the OS
Best if you only need to move Windows Server 2016 to a new drive.
Step 1. Open AOMEI Cloner → Go to Clone → Select System Clone.
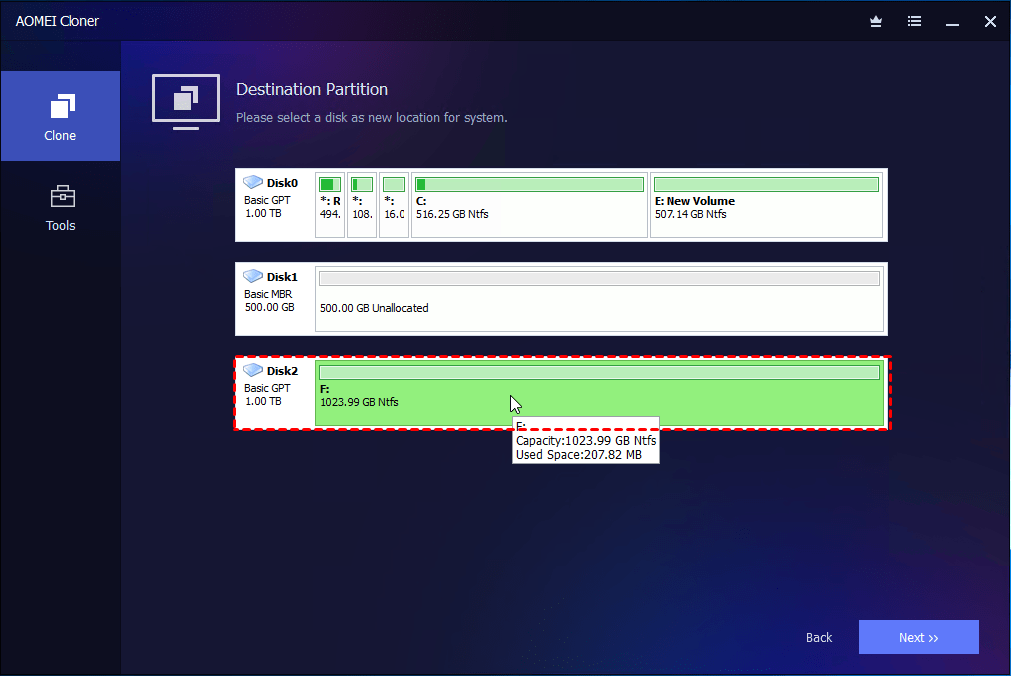
Step 2. The system partition and boot-related partitions are selected by default. Now, select the destination SSD.
Step 3. Enable SSD Alignment for better SSD performance. Then click Start Clone and wait for the process to finish.
Tip: If you are cloning to a larger drive, there will be an option called Make full use of disk space and it is checked by default to maximize disk space usage.
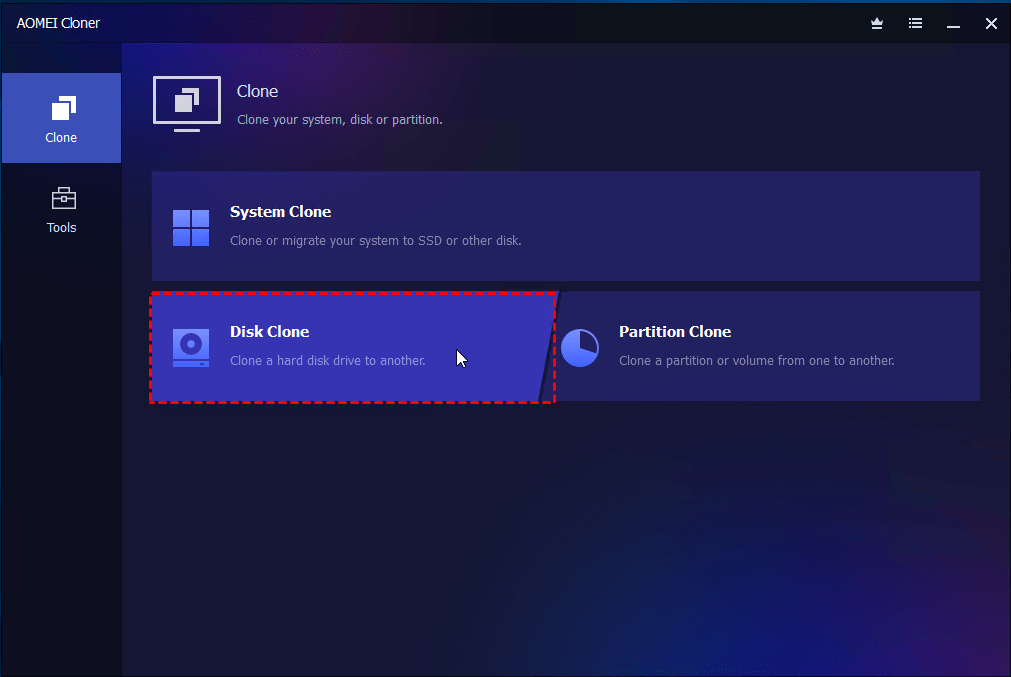
Method 2: Windows Server 2016 Clone Disk
Use this to copy all partitions, including data, apps, and the OS on Windows Server 2016, 2019, 2022, and 2025.
Step 1. Open AOMEI Cloner → Go to Clone → Select Disk Clone.
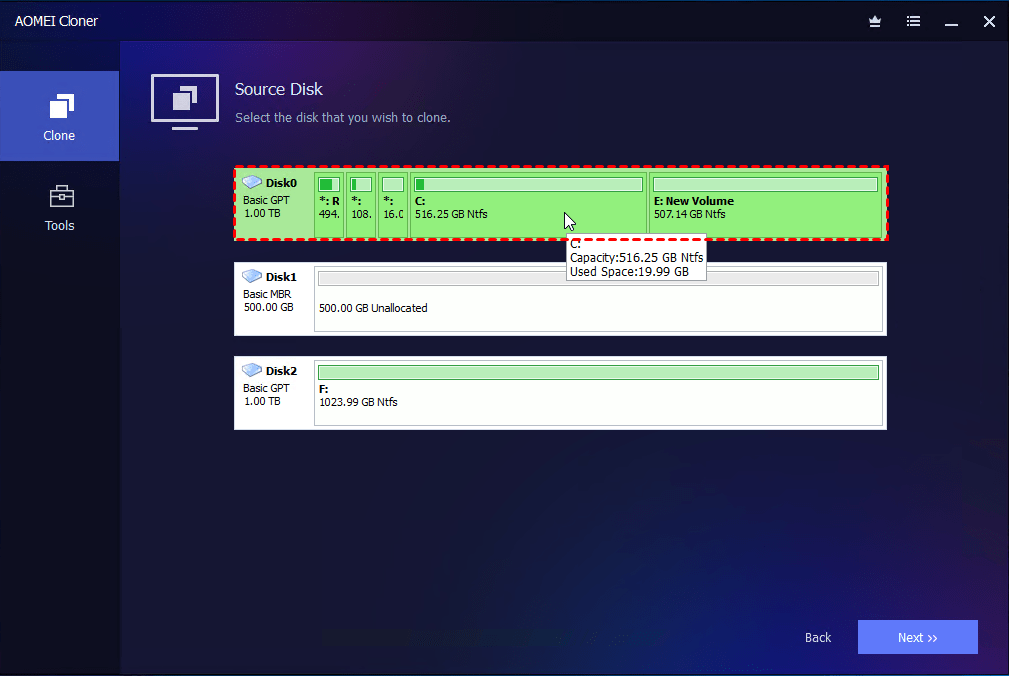
Step 2. Choose your current Server drive as the source disk and click Next.
Step 3. Select the SSD as the destination disk and click Next.
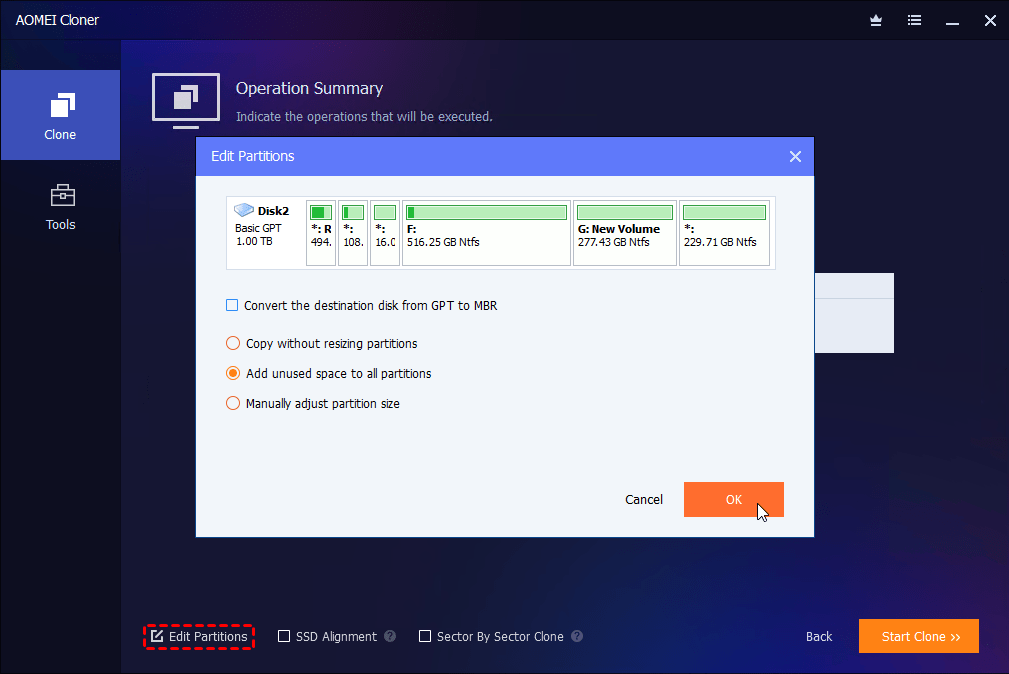
Step 4. (Optional) On the Operation Summary page, click Edit Partitions to adjust partition size or partition style of the destination disk as necessary.
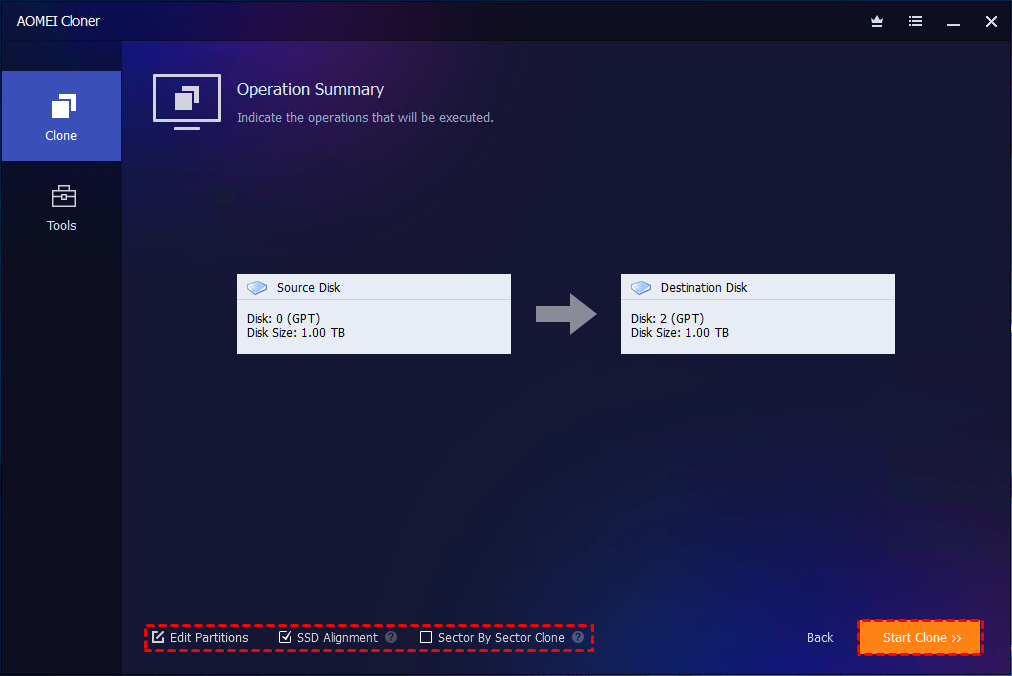
Step 5. Tick SSD Alignment to improve SSD performance and lifespan, then click Start Clone. The process can take a while, depending on disk size and speed.
Extended Reading: Why Clone Windows Server 2016?
Cloning your Windows Server 2016 hard drive is a smart way to:
✅Upgrade to a larger drive: Running out of space? Transfer everything to a bigger HDD or SSD without losing data.
✅Switch to an SSD: Improve Windows Server’s performance with faster read/write speeds.
✅Create a backup for disaster recovery: Protect against data loss from hardware failure or malware.
✅Replace an aging drive: Avoid sudden drive failure by migrating to a new disk before it’s too late.
FAQs on Cloning Disk on Windows Server
1. Can I clone to a smaller drive?
Yes, but only if the used space on your current drive is smaller than the capacity of the target SSD.
2. Can I resize partitions during cloning?
Absolutely. The "Edit Partitions" option in AOMEI Cloner lets you manually adjust sizes or fully use the disk space for automatic expansion.
3. Will cloning delete my data?
The destination drive will be overwritten, so back up important files first.
4. Can I boot from the cloned drive immediately?
Yes! Just change the boot order in BIOS/UEFI. Here are detailed steps:
- Shut down the Server and disconnect the old drive (optional but recommended to avoid confusion).
- Connect the cloned drive to the original disk’s SATA/NVMe slot (or use a USB-to-SATA adapter for testing).
- Enter BIOS/UEFI: Restart the server and press F2/DEL/ESC (varies by motherboard) to access settings.
- Change boot priority: Navigate to the Boot Menu and set the cloned drive as the first boot device.
- Save & exit: Press F10 to save changes and reboot.
If you find the SSD won’t boot, refer to this post for further information: how to fix cloned SSD won't boot.
Ready to upgrade? Download AOMEI Cloner and clone Windows Server 2016 in minutes!
A reliable disk clone software can help you easily clone system, disk, partition with secure boot.
Final Thoughts
Cloning Windows Server 2016 to SSD is the fastest way to upgrade or replace a hard drive. With AOMEI Cloner, you get a simple, risk-free process, no reinstallation needed. Whether you’re moving Server to an SSD or creating a backup, this guide ensures a smooth transition. Need more help? Please check AOMEI’s support page.