Complete Guide to Clonezilla NVMe Clone in Windows
Want to do Clonezilla NVMe clone? This guide walks you through the entire process of cloning an NVMe drive using Clonezilla, covering each step in detail to ensure a smooth and successful operation.
By Lily Updated on April 22, 2025
NVMe SSDs offer blazing-fast performance, but cloning them can be a bit more complex than traditional drives. That’s where Clonezilla comes in—a powerful, free tool that lets you clone your entire NVMe drive, including the OS, files, and partitions. In this guide, we’ll show you how to use Clonezilla with NVMe step by step.
In case Clonezilla fails, you may try an easier tool to clone NVMe SSD.
Prepare for Clonezilla NVMe clone
Before diving into the cloning process, it’s important to get everything set up for a smooth cloning experience.
1. Connect target NVMe drive
- If there’s an extra M.2 slot, just install the target NVMe drive in the slot.
- If there’s no extra M.2 slot, you may connect the target NVMe SSD via a USB-to-NVMe enclosure.
2. Backup important data
Cloning typically overwrites the target drive entirely, so if it contains any important data, back it up with reliable backup software before starting.
3. Create a Clonezilla bootable USB
- Download the latest Clonezilla Live ISO from the official website.
- Use a tool like Rufus or Balena Etcher to create a bootable USB drive.
How to clone an NVMe drive using Clonezilla
Follow these steps to perform Clonezilla NVMe to NVMe—whether you’re upgrading to a larger NVMe or backing up your current setup. The same steps also apply to Clonezilla SSD to NVMe.
Step 1: Boot Clonezilla Live
1. Insert the Clonezilla bootable USB into your PC.
2. Restart your computer and enter the BIOS/UEFI settings (usually by pressing F2, F12, DEL, or ESC at startup).
3. Change the boot order so the USB drive boots first.
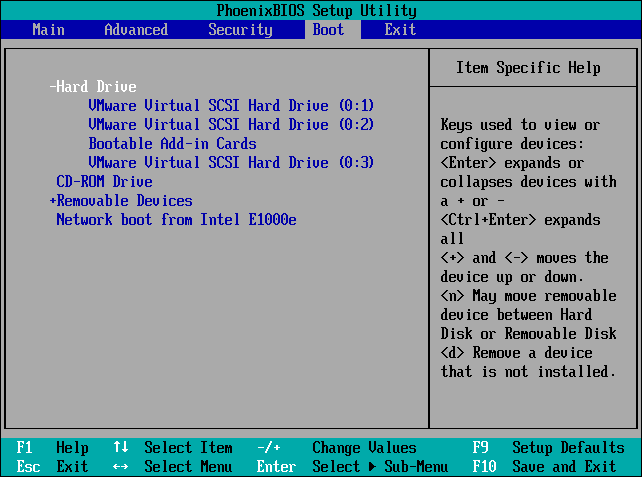
4. Choose UEFI or Legacy mode depending on your setup (UEFI is recommended for NVMe).
Step 2: Start the Cloning Process
1. On the Clonezilla boot menu, choose Clonezilla live.
2. Navigate to Start Clonezilla > device-device > Beginner mode.

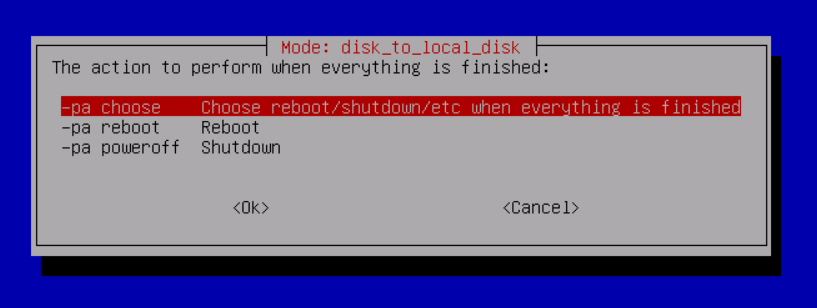
3. Pick disk_to_local_disk to clone one physical drive to another.
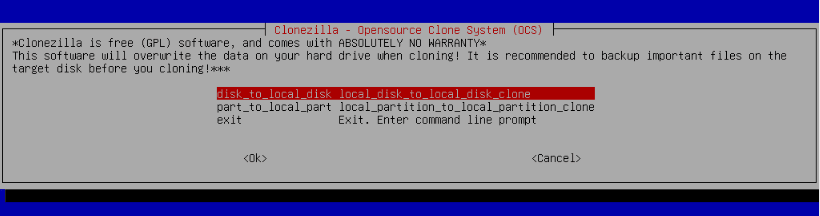
4. Designate your source NVMe and your target drive carefully.
💡 Tip: NVMe drives may appear as /dev/nvme0n1, /dev/nvme1n1, etc.
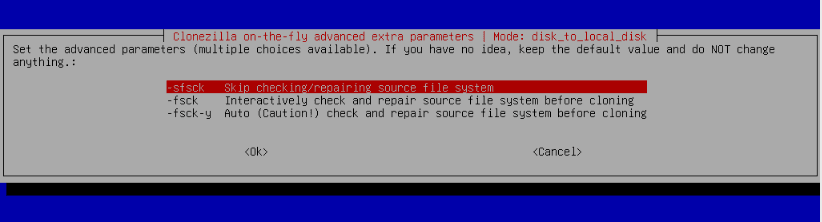
5. Adjust the following options for optimal cloning:
- -sfsck (Skip filesystem check for faster cloning)
- -k0 (Copy the original partition table to the SSD)
6. Decide what happens after cloning finishes. The default is to choose later, but you can opt to reboot or shut down immediately.
7. Clonezilla will request final confirmation. Type y twice to proceed. Once complete, press Enter to continue.
8. Select Poweroff to turn off your PC. Your cloned NVMe SSD is now ready for use.
Step 3: Boot from the Cloned NVMe
1. (Optional) If your system only has one M.2 slot, physically remove the old NVMe drive and install the newly cloned NVMe SSD in its place.
2. Access your system BIOS/UEFI settings again and designate the cloned NVMe SSD as the first boot device in the boot order.
3. Start up your computer normally into Windows and confirm all your files, programs, and system functions are operating as expected on the new NVMe SSD.
Troubleshoot: Clonezilla NVMe not detected
While Clonezilla supports NVMe drives, some setups can cause detection problems—especially with certain BIOS settings or older hardware. Here’s how to fix it.
1. Check BIOS/UEFI Settings
Most NVMe detection issues are tied to the system’s firmware settings. Try the following:
- Enable UEFI Mode: Clonezilla detects NVMe drives more reliably in UEFI rather than Legacy (CSM) mode.
- Disable Secure Boot: Some systems block unsigned boot media like Clonezilla. Disabling Secure Boot in BIOS can fix that.
- Enable NVMe Configuration or Storage Remapping: On some motherboards, you may need to manually enable NVMe settings.
2. Use the “Safe Graphics Mode”
If the screen freezes or drives aren’t visible, choose “Other modes of Clonezilla live” → “Safe graphics settings” on the Clonezilla boot menu. This can bypass driver conflicts during boot.
3. Check NVMe Adapter
If you're cloning to an external NVMe via USB, make sure the enclosure or adapter supports NVMe (not just SATA M.2). Invest in a good-quality NVMe USB enclosure to avoid detection issues.
4. Use lsblk or fdisk -l to Check Drive Visibility
If Clonezilla’s wizard doesn’t show the NVMe, try dropping to the shell:
- From the Clonezilla terminal, type lsblk or fdisk -l.
- Look for your NVMe drive (/dev/nvme0n1 or similar).
- If it appears here but not in Clonezilla’s menu, it's likely a tool-specific display bug.
Bonus: Clone NVMe SSD with an easier tool
Let’s be real—Clonezilla is powerful, but it’s not exactly beginner-friendly. If you’re looking for a faster, easier, and more intuitive way to clone an NVMe SSD, AOMEI Cloner is a great alternative worth checking out.

- User-friendly interface – No command line, no guessing which drive is which. Just a few clicks and you’re cloning.
- Smart clone tech – Automatically skips unused sectors for faster transfers. It is also useful to clone larger drive to smaller drive.
- Supports UEFI and GPT – Perfect for modern systems and NVMe drives.
- Bootable media builder – Easily create a USB recovery drive if your system won’t boot.
- Hot clone support – Clone your system drive while doing other works on your computer.
Download AOMEI Cloner and follow the instructions below to clone NVMe SSD to another NVMe SSD:
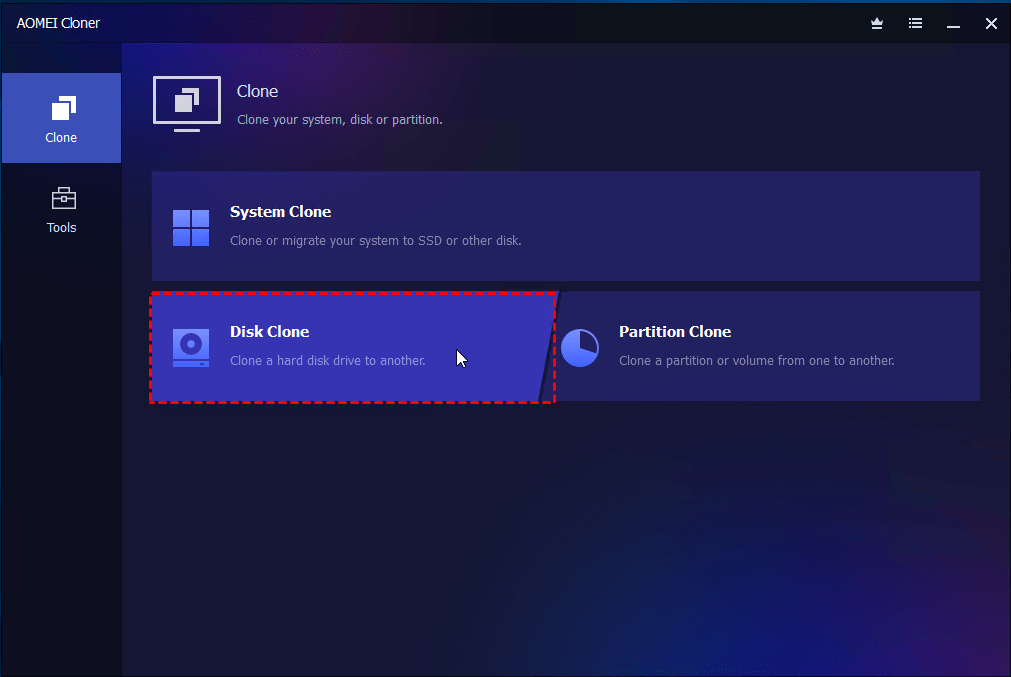
Step 1. Install and launch AOMEI Cloner. Then go to Clone > Disk Clone.
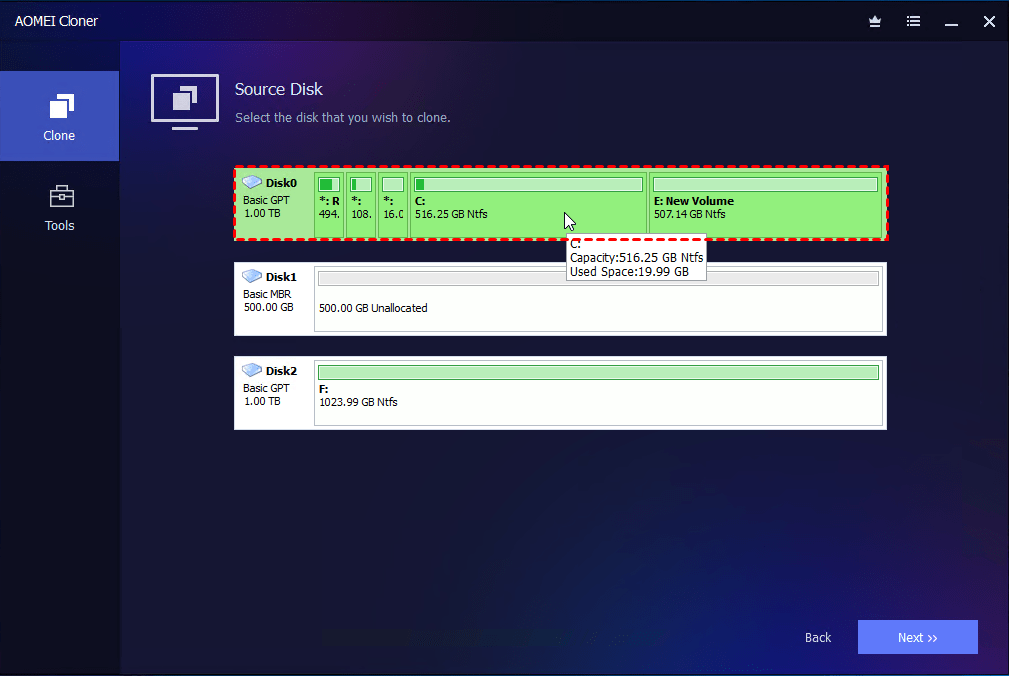
Step 2. Select your source NVMe SSD and your target drive.
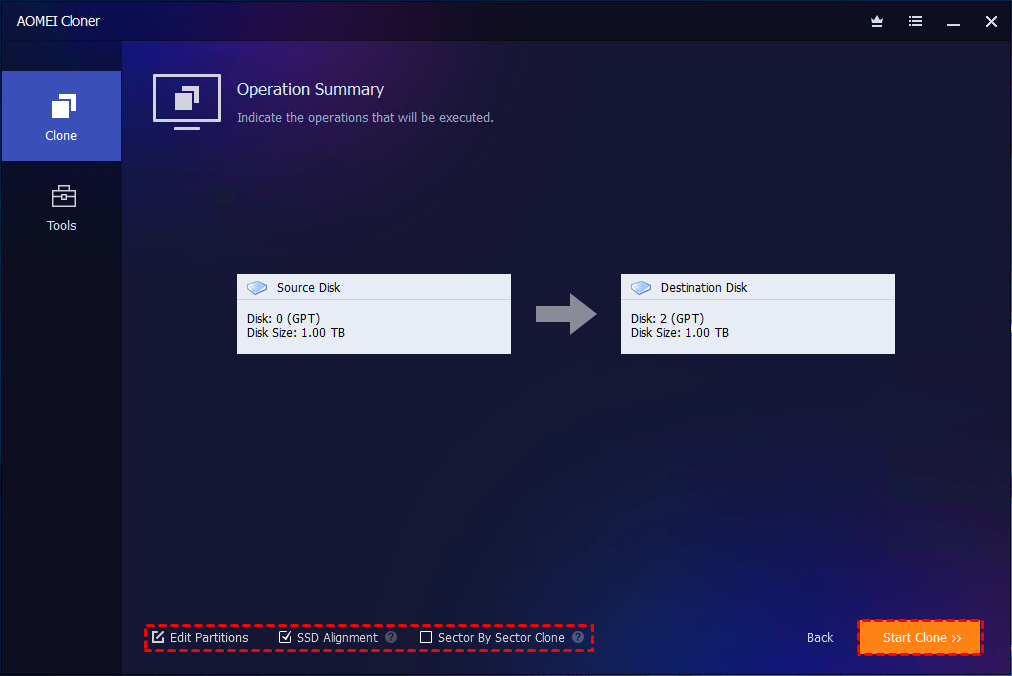
Step 3. Enable SSD Alignment to optimize NVMe performance. Finally, click Start Clone and wait for it to finish.
Verdict
Now you know how to perform Clonezilla NVMe clone on a Windows PC. As you see, it involves many steps. If you prefer a more user-friendly approach, AOMEI Cloner offers a simpler experience with just a few clicks. Either way, cloning your NVMe drive is a smart move to protect your data and ensure seamless hardware upgrades.