Benefits of Synology C2 Backup
❥ Enhanced Data Security and Accessibility
Synology C2 Backup provides a secure and accessible cloud storage solution, ensuring that your data is not only protected but readily available whenever you need it. Explore how C2 enhances data security in a dynamic digital environment.
❥ Scalability and Flexibility
Discover the scalability and flexibility offered by Synology C2, accommodating diverse backup needs. Whether you are an individual user or a business with extensive data requirements, C2 adapts to your storage demands seamlessly.
Integration of Synology NAS with C2 Backup
Seamless Integration Process
Learn about the smooth integration process of Synology NAS with C2 Backup. Synology ensures that users can effortlessly connect their NAS devices to the cloud, expanding their data storage capabilities.
Compatibility and Features Offered by Synology C2
Explore the compatibility of Synology C2 with various Synology NAS models. Understand the features provided by C2, such as versioning, file restoration options, and cross-device synchronization.
Step-by-Step Guide for a Smooth C2 Backup Setup
Setting up Synology C2 Backup is a straightforward process that ensures secure and efficient cloud storage for your valuable data. Follow this step-by-step guide to seamlessly configure Synology DSM (DiskStation Manager) and enable C2 Backup on your Synology NAS.
1. Log in to Synology DSM:
- Open your web browser and enter the IP address or hostname of your Synology NAS.
- Log in using your administrator credentials.
2. Navigate to "Control Panel":
- In the DSM interface, locate and click on "Control Panel" in the main menu.
3. Access "File Services" Section:
- Within "Control Panel," find and select "File Services."
4. Enable Synology C2 Backup:
- Look for the "Synology C2 Backup" option.
- Enable it to activate the C2 Backup feature.
5. Visit "Package Center" for Installation:
- Navigate to "Package Center" in DSM.
6. Search and Install Synology C2 Backup:
- Use the search bar to find "Synology C2 Backup."
- Click "Install" to add the C2 Backup package to your NAS.
7. Open "Backup & Replication" in DSM:
- Return to the DSM main menu and select "Backup & Replication."
8. Configure C2 Backup Task:
- Within "Backup & Replication," click on "C2 Backup Task."
- Configure settings such as selecting source data, destination, and any additional parameters according to your preferences.
9. Set Backup Schedule:
- Define the backup schedule based on your needs—whether it's daily, weekly, or a custom schedule.
- Adjust advanced settings, including encryption and retention policies.
10. Review and Apply:
- Double-check your settings to ensure accuracy.
- Click "Apply" to save and activate the C2 Backup task.
11. Monitor Backup Progress:
- Return to the "Backup & Replication" section to monitor the progress and status of your configured C2 Backup task.
- Regularly check logs and notifications for updates or warnings related to the backup process.
By following these steps, you've successfully set up Synology C2 Backup on your Synology NAS. This seamless configuration ensures that your data is securely backed up to the cloud, providing an additional layer of protection and accessibility. Regularly review and update your settings to adapt to changing data needs, ensuring the ongoing security and availability of your critical information.
Important: Backup Your Windows Server with Ease
For organizations relying on Windows Server for their daily operations, any disruption in data availability can have significant consequences. Ensuring continuous access to data is essential for maintaining productivity, meeting regulatory compliance, and preserving customer trust.
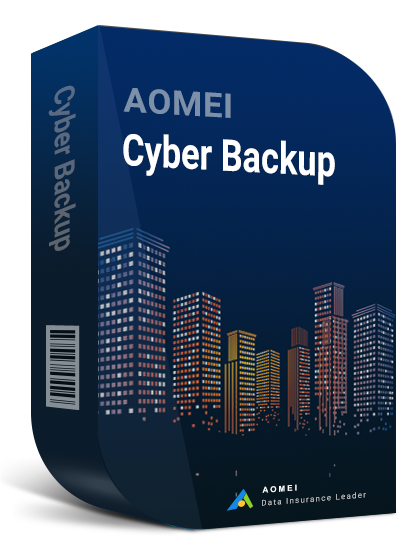
AOMEI Cyber Backup is a robust backup and recovery solution designed specifically for Windows environments. With its intuitive interface and powerful features, AOMEI Cyber Backup offers a comprehensive approach to data protection.
♦ Disk Imaging: Create full system backups including operating system, applications, and data.
♦ Incremental & Differential Backup: Efficiently backup only the changes made since the last backup to minimize storage space and processing time.
♦ Schedule Backup: Automate the backup process to ensure regular and consistent data protection.
♦ Universal Restore: Easily restore backups to different hardware configurations, ensuring flexibility and compatibility.
Download FreewareWindows Server & PC
* Both free and paid version of AOMEI Cyber Backup support Windows Server 2016/2019/2022/11,10,8,7.
Step-by-Step Guide to Backup Your Windows System with AOMEI Cyber Backup
1. Download and Install AOMEI Cyber Backup
To bind your device, navigate to Source Device >> Windows. The device you have installed agent on will automatically appear on the interface.
2. Select Backup Type
Upon launching the AOMEI Cyber Backup application, you'll be presented with various backup options. Choose the "System Backup" option from the main interface.
3. Configure Backup Settings
- Choose the destination where you want to store the backup. This can be an external hard drive, network location, or cloud storage.
- Specify a name for your backup task to easily identify it in the future.
4. Schedule Backup (Optional)
Click on the "Schedule" option and configure the backup schedule according to your preferences. You can choose daily, weekly, or monthly backups, as well as the specific time for each backup.
5. Start Backup Process
Once you've configured the backup settings to your liking, click on the "Start Backup" button to initiate the backup process.
6. Restore Backup (Optional)
Choose the backup task that you want to restore and follow the on-screen instructions to complete the restoration process.
Conclusion
In conclusion, Synology C2 Backup emerges as a comprehensive cloud backup solution, offering enhanced data security, scalability, and flexibility. By following the outlined integration and setup procedures, optimizing data selection, and implementing robust security measures, users can elevate their data backup strategy. Synology C2 stands as a powerful ally in the digital realm, ensuring that your data is not only secure but readily accessible whenever and wherever you need it.


