Understanding Synology and Amazon Glacier Integration
☛ Synology NAS Capabilities
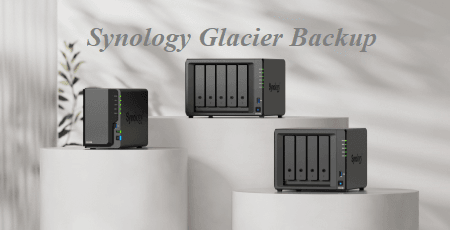
Synology NAS serves as the foundation for efficient data management, offering a range of features that extend beyond local storage. Understanding its capabilities is crucial for harnessing the full potential of Synology Glacier Backup.
☛ Integration with Amazon Glacier for Long-Term Data Archiving
Explore how Synology seamlessly integrates with Amazon Glacier, a cost-effective and scalable cloud storage service designed for archiving data for extended periods. This integration provides users with an off-site storage solution for enhanced data security.
Benefits of Synology Glacier Backup
● Cost-Effectiveness
Discover the economical advantages of Synology Glacier Backup, leveraging the cost-effective nature of Amazon Glacier for long-term storage without compromising data integrity.
● Scalability and Flexibility
Explore the scalability of Synology Glacier Backup, allowing users to adapt their storage needs dynamically. This flexibility ensures that the backup solution grows seamlessly with the expanding data requirements.
● Enhanced Data Durability
Learn how Synology Glacier Backup enhances data durability by leveraging Amazon Glacier's robust infrastructure, providing reliable storage with high durability and availability.
Setting Up Synology Glacier Backup
In today's digital landscape, ensuring the security and longevity of your data is crucial. Synology Glacier Backup provides a seamless solution by integrating Synology NAS with Amazon Glacier, offering a reliable off-site storage option. This step-by-step guide will walk you through the process of setting up Synology Glacier Backup to enhance the security of your valuable data.
1. Access Synology DSM
- Open your web browser and enter the IP address or hostname of your Synology NAS in the address bar.
- Log in using your administrator credentials.
2. Navigate to Hyper Backup
- In the DSM interface, locate and click on "Hyper Backup" in the main menu.
- This application serves as the gateway for configuring Synology Glacier Backup.
3. Create a New Backup Task
- Click on the "Backup" tab and then select "Data backup task."
- Choose "Synology C2" as the backup destination, leveraging the integration with Amazon Glacier.
4. Configure Backup Settings
- Enter a descriptive name for your backup task to easily identify it.
- Specify the source data by selecting the folders or files you want to include in the backup.
5. Set Backup Schedule
- Define the frequency of your backups, whether daily, weekly, or custom.
- Adjust advanced settings, such as encryption and retention policies, based on your security and storage needs.
6. Review and Confirm
- Double-check your settings to ensure accuracy.
- Click "Apply" to save and activate the Synology Glacier Backup task.
7. Monitor Backup Progress
- Navigate to the "Backup" tab in Hyper Backup to monitor the progress and status of your configured Glacier Backup task.
- Regularly check logs for any notifications or warnings related to the backup process.
Ensure Smooth and Reliable Windows Backup by AOMEI Cyber Backup
In today's digital age, where data is integral to both personal and professional endeavors, ensuring its safety and accessibility is paramount. AOMEI Cyber Backup emerges as a comprehensive solution tailored to address the challenges of Windows backup, offering a seamless and reliable experience for you.
AOMEI Cyber Backup stands out in the realm of backup solutions with its user-friendly interface and robust features. Designed specifically for Windows systems, it caters to the diverse needs of individuals and businesses alike.
❃Ease of Use: With its intuitive interface and straightforward operation, AOMEI Cyber Backup simplifies the backup process for users of all levels.
❃Incremental Backup: Save time and storage space by backing up only the changed or new data since the last backup.
❃Schedule Backup: Set up automated backup schedules to ensure regular and consistent data protection without manual intervention.
❃Universal Restore: Seamlessly restore backups to different hardware configurations, facilitating efficient system migration.
Download FreewareWindows Server & PC
* Both free and paid version of AOMEI Cyber Backup support Windows Server 2016/2019/2022/11,10,8,7.
How to use AOMEI Cyber Backup to ensure your Windows system security
1. Download and Installation: Begin by downloading and installing AOMEI Cyber Backup and agent on your Windows system.
2. Launch the Software: Open the application to access its intuitive interface, presenting Source Device >> Windows. It will automatically appear if the device is compatible and connected to the internet.
3. Select Backup Type: Choose between Disk/Partition backup, File backup, System backup, or other available options based on your requirements.
4. Customize Backup Settings: Configure backup settings such as compression, encryption, and schedule according to your preferences.
5. Initiate Backup Process: Start the backup process and monitor its progress to ensure successful completion.
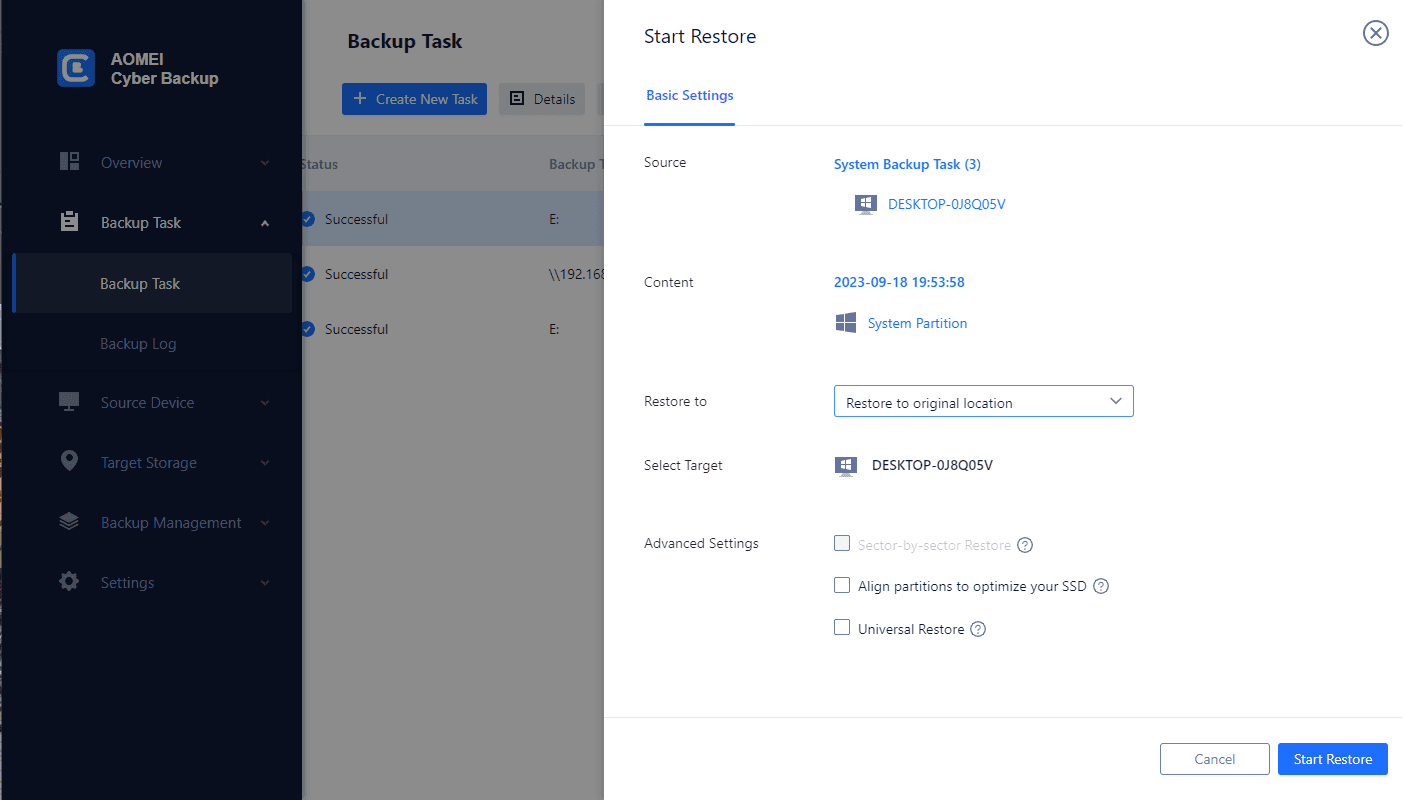
6. Restore from Backup: Navigate to the Restore tab, and select the backup task you want to restore from. After all the settings, click Start Restore.
Conclusion
In conclusion, Synology Glacier Backup stands as a powerful solution for users seeking secure, cost-effective, and scalable off-site data storage. The integration of Synology NAS with Amazon Glacier provides a comprehensive approach to long-term data archiving, emphasizing the importance of data security and accessibility in the digital era.
Implementing the outlined setup procedures, best practices, and troubleshooting tips will empower users to establish a robust and efficient Synology Glacier Backup strategy.


