How to Backup iPhone to SSD on Windows/Mac [2024 Updated]
If you want to backup iPhone to SSD to free up storage space on your PC or iCloud, read this guide and you will learn how to back up your iPhone to SSD on a Windows PC or Mac. Let’s have a look!
By May / Updated on December 29, 2023
Why Need to Backup iPhone to SSD?
It is essential to backup iPhone to SSD because it cannot only create a backup of your iPhone but also free up storage space on your Windows or Mac. There are more reasons why you should consider backing up your iPhone to an SSD:
Faster Backup Speed: SSDs are much faster to read and write than traditional HDDs, which means that your iPhone backup process will be faster, saving you valuable time.
Portability: Because SSDs are compact and lightweight, it’s easy to carry around iPhone backups saved on an SSD for easy access to data on different devices.

How to Backup iPhone to SSD on Windows in 2 Simple Ways
Having understood the reasons for backing up your iPhone to an SSD, let’s explore how to backup iPhone to SSD on Windows.
Method 1: Backup iPhone to SSD with FoneTool – Safe Way
When you need to back up your iPhone to your SSD, one of the easiest ways is to use a safe and professional backup tool like FoneTool. With this tool, you can fully or selectively back up your iPhone data to SSD or PC.
Why choose FoneTool to back up your iPhone to an SSD? Some benefits are as follows:
Direct Backup to SSD: FoneTool allows you to back up your iPhone data (including photos, videos, music, messages, contacts, etc.) directly to an SSD without any intermediate steps.
Selective Backup: With FoneTool, you could selectively back up your iPhone to an SSD, which can help you back up only the data that is important to you and save storage space on your SSD.
Data Security: FoneTool utilizes state-of-the-art encryption protocols to ensure maximum protection of your personal information when performing backups.
Easy-to-Use Interface: FoneTool’s user-friendly interface simplifies the backup process and makes it easy to use even for those without technical expertise.
So, how to backup iPhone to SSD drive using FoneTool? Follow the steps below to do that:
Step 1: Free download FoneTool and install it on your PC > Connect your iPhone and SSD to your PC with USB cables.
Step 2: Launch FoneTool to its main interface > Choose Selective Backup > Click the Get Started button.
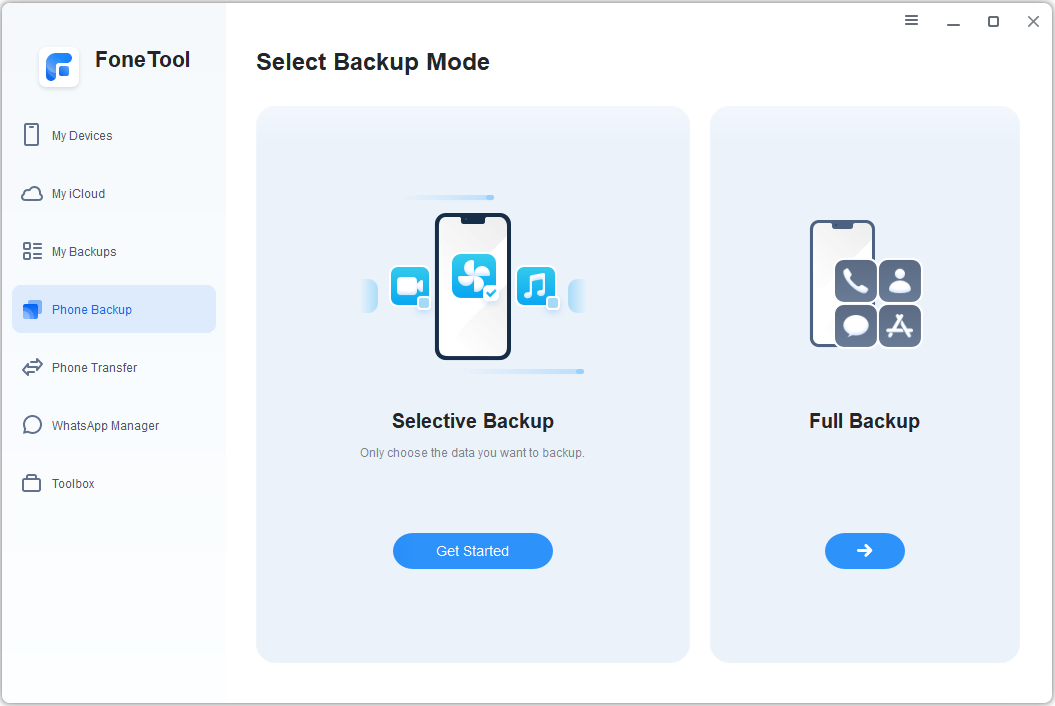
- ★Tip:
- If you need to make a full iPhone backup, you should choose the Full Backup mode.
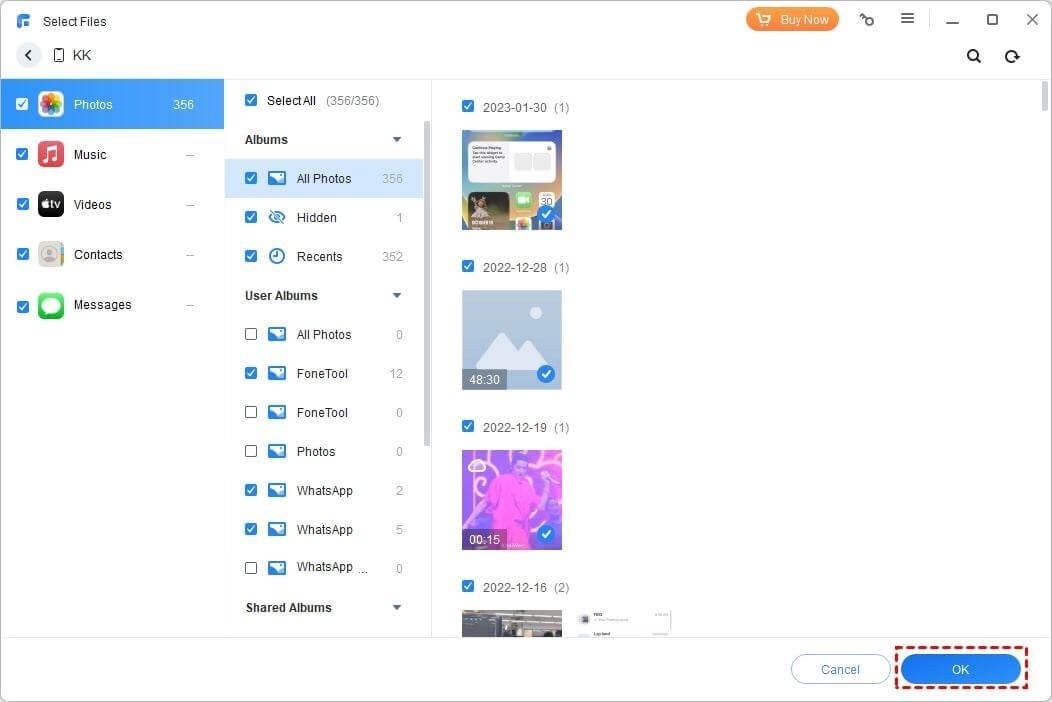
Step 3: Click an icon to preview and select the files that you wish to back up > Click OK to confirm.
Step 4: Click the Backup Storage Path to specify the SSD as a destination to save the backup files > Click Start Backup to backup iPhone to SSD.

In addition to creating the iPhone backup, you could use FoneTool to transfer your data from your iPhone to an SSD or PC, wipe your iPhone clean, scan and delete duplicate photos on your iPhone or PC, etc.
Method 2: Backup iPhone to SSD with iTunes
iTunes, developed by Apple, is a software application that allows you to manage and sync content between your iPhone and computer. With iTunes, you could back up your iPhone to an SSD, but the backup process seems to be a bit difficult because you need to use the command prompt. Here is a step-by-step guide to back up your iPhone to an SSD with iTunes:
Step 1: Download the latest iTunes onto your Windows PC > Connect your iPhone to the PC using a USB cable and plug in the SSD > Open Windows File Explorer.
Step 2: Go to the following location: C:\Users\[PC name]\AppData\Roaming\AppleComputer\MobileSync.
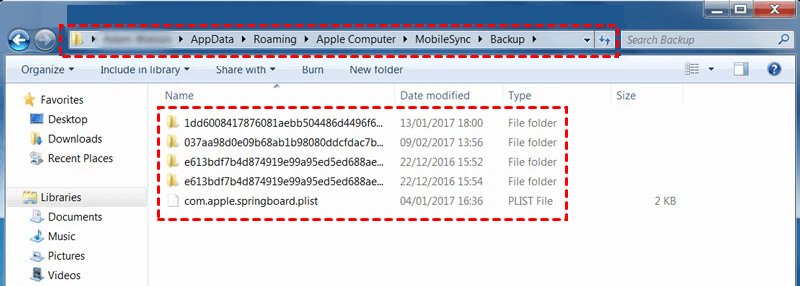
Step 3: Empty the contents of the Backup folder > Create a new folder named MobileSync on your SSD > Press Win + R to open the Run dialog box > Type cmd and press Enter to open the Windows Command Prompt.
Step 4: In the Command Prompt window, enter the command “mklink /J "C:\Users\[PC name]\AppData\Roaming\Apple Computer\MobileSync\Backup” “E:\MobileSync”” (modify the drive letter E if needed) > press Enter to execute the command.

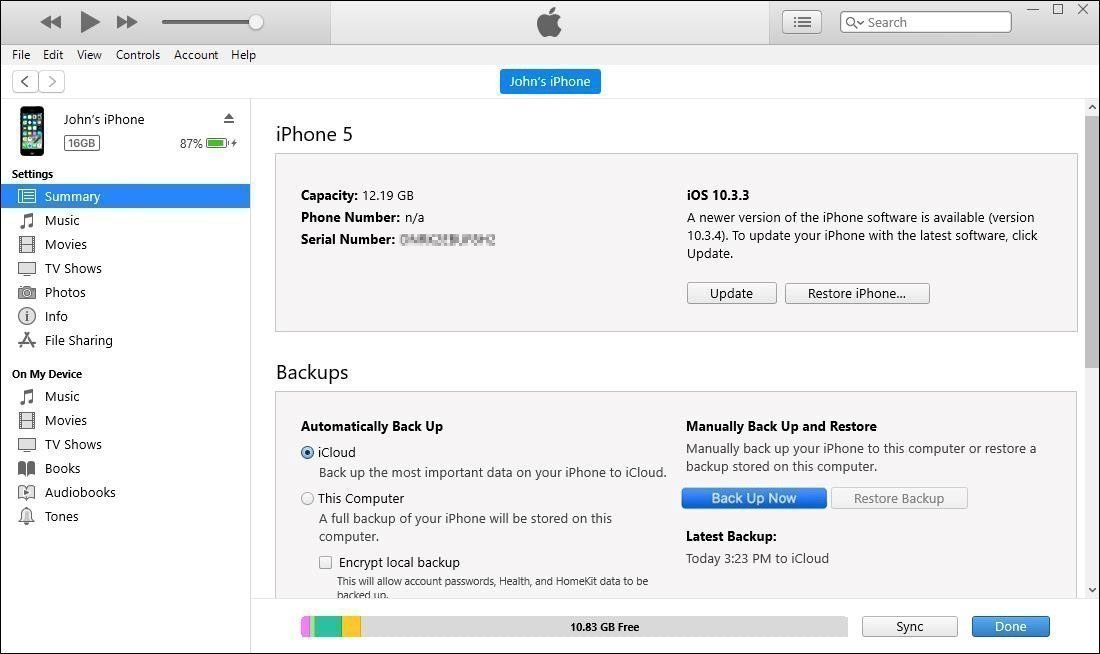
Step 5: Launch iTunes > Click the phone-shape icon in the upper left corner > Choose the Summary option > Click the Back Up Now button under the Backups section.
How to Back Up Your iPhone to SSD on Mac – Finder
Can you backup iPhone to SSD? If you are used to backing up your iPhone data with iTunes on your Mac, in this case, you can go to the designated folder called MobileSync to find your latest iPhone backup and then move it to your SSD. How to do that? Here is a full guide:
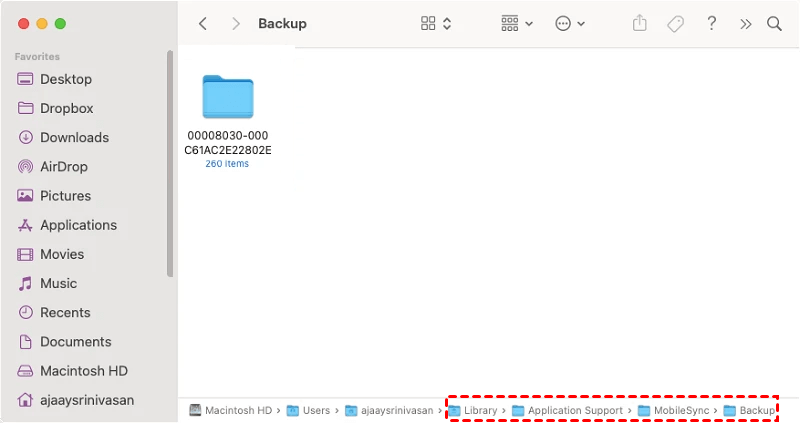
Step 1: Connect your SSD to your Mac > Open the Finder window > Hold down the Option key until Library only appears > Choose Library > Application Support > MobileSync.
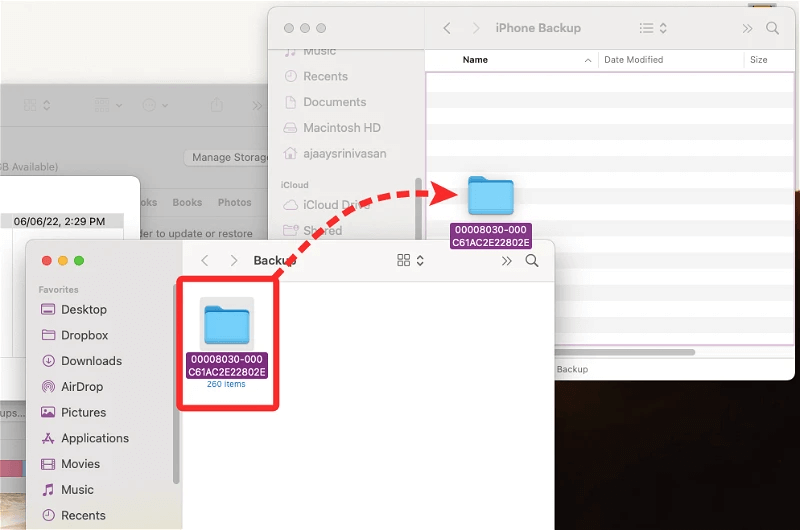
Step 2: Right-click the Backup folder to choose Copy from the drop-down menu > Create a folder named iPhone Backup on your SSD > Right-click and choose Paste to move your iPhone backup to the SSD.
The Bottom Line
iTunes and Finder are common ways to backup iPhone to SSD, but the backup process is tedious. In addition, when you have a large amount of iPhone data to back up, you may easily encounter the Finder or iTunes stuck on backup issues. In this case, the best way to back up your iPhone is to use the safe and professional backup tool – FoneTool. With this tool, you could easily back up your iPhone to an SSD, USB drive, or PC. Try it out!
