How to Remove Shared Photos on iOS 15/16/17
Here you can learn how to remove shared photos on iOS 1 from the Photo app or iPhone completely. What’s more, you can realize how to disable/enable shared photos on iOS 17.
By Kathy / Updated on March 6, 2024
Why remove shared photos on iOS 17?
In iOS 17, Apple developed the “Shared with You” feature. It enables iPhone users to quickly find out shared content over the Messages app. If someone shares a photo over Messages, you can see it in the Shared Photos section when you open the Photos app. Usually, users choose to delete shared photos for the following reasons.
- The shared photo may be private to you and you don’t want it to be seen by others from the Photos app.
- You don’t want your Photos app to be messed up with the shared photos from other places.
- You don’t need the shared photos anymore and you plan to get rid of them to free up space on iPhone iOS 17.
How to remove shared photos on iOS 17 from the Photos app
If you only need to remove the shared photos from the Photos app on iOS 17 rather than delete the shared photos from the iPhone device completely, all you need to do is turn off the “Shared with Your” feature. Have a look at how to complete the task.
Step 1. On your iOS 17 iPhone, open “Settings”, scroll down, and tap “Messages”.

Step 2. Then, choose “Shared with You”.
Step 3. Tap on the toggle adjacent to the Photos app to disable “Shared with You” for photos.

After that, open the Photos app and you won’t see the photos shared over the Messages app.
If you want to see the photos, you need to manually save them just as you used to do before the “Shared with Your” feature comes.
Note: To disable the enter “Share with You” feature, tap on the toggle adjacent to “Automatic Sharing”.
How to delete shared photos on iOS 17 iPhone
The above method just removes photos shared over the Messages app from the Photos app in iOS 17, if you need to delete the shared photos from your iPhone completely, check out the following steps.
Step 1. Open Messages on your iPhone iOS 17, and locate the conversation you want to remove the shared photos from.
Step 2. Choose the conversation tap the contact’s picture and tap “Sell All”.
Step 3. Tap and hold on to the photo that you want to remove and choose “Delete”.

Note: You can just choose to delete the conversion that contains the shared photos. After you delete the conversion, the photos you don’t save from the conversion will be deleted.
Further reading: Manage iPhone photos, music, etc. via FoneTool
From the above parts, you have learned how to remove shared photos on iOS 17. Sometimes, you may need to delete data to get more free space on iPhone iOS 15 after using it for a long time. In case you need the deleted data in the future, it’s advised to transfer them to another place like PC in advance.
FoneTool, an overall iOS data management utility is recommended. With it, you can selectively and quickly transfer your photos, music, contacts, etc. on your iPhone to a computer, iPad, or another iPhone. It supports you to backup all content and settings, like call history and memos from iPhone to the computer. It is compatible not only with iOS 17 but also with iOS 16/15/14, etc.
Now, download it and see how to use it to import photos from iPhone to Windows 11, 10, 8, 7.
Step 1. Connect your iOS 17 device to the computer with a USB cable.
Step 2. Install and run FoneTool. On the home interface, select "Phone Transfer" and click "Get Started" under the "iPhone to PC" option.

Step 3. Click the data that you want to transfer. Then, click "Start Transfer".
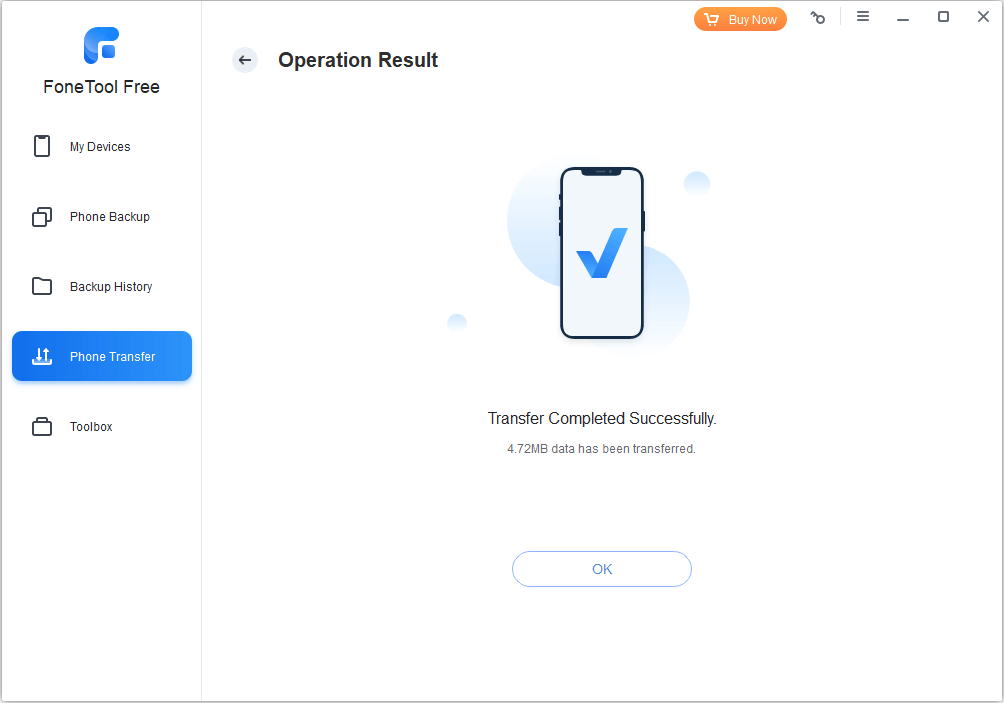
Step 4. Waiting for the transfer completes. Click “OK” when you see “Transfer completed”.
Note: If you need to transfer photos from iPhone to iPhone, refer to How to Transfer Photos from iPhone to iPhone (5 Methods).
