Import iPhone Photos to External Hard Drive on PC/iOS/Mac
Are you looking for a way to import iPhone photos to external hard drive? Read this post and learn how to export photos from iPhone to external hard drive on PC/iOS/Mac.
By May / Updated on April 18, 2024
How do I import photos from an iPhone to an external hard drive?
Hi, friends! I’m getting into trouble when I tried to import 2000 photos on my 256GB iPhone 12 Pro Max to an external 2TB Seagate hard drive. How do I deal with thousands of photos transfer?
- Question from Reddit
Why Need to Import iPhone Photos to External Hard Drive
You accumulate data on your phone every day, and a lot of that data is stored on your iPhone. In this case, you’d better import iPhone photos to external hard drive to make sure your phone is still in good shape. Some reasons are listed below:
Backup and Preserve Photos: By importing your iPhone photos to an external hard drive, you can create reliable backups and ensure the long-term preservation of your precious photos.
Free Up iPhone Storage: By transferring your photos from iPhone to an external hard drive, you can free up your iPhone storage space for other files and apps.
Easy Accessibility: With your photos on an external hard drive, you can access them on any computer or device that supports the hard drive. This allows for convenient sharing, editing, and organizing without relying solely on your iPhone.
How to Import iPhone Photos to External Hard Drive on PC
There are many ways to back up your data, but today, this post will show you how to import iPhone photos to external hard drive with simple ways.
Method 1: Easiest Way to Transfer iPhone Photos to External Hard Drive
For Windows PC users, the easiest way to import photos from your iPhone to an external hard drive is to use an iPhone backup and transfer tool - FoneTool.
With FoneTool, you can effortlessly import various data types such as photos, music, videos, messages, and contacts from your iPhone to an external hard drive without the need for a network connection. Here is the step-by-step guide on how to use it:
Step 1: Download and install FoneTool on your Windows PC > Launch FoneTool > Connect your iPhone to your PC using a USB cable.
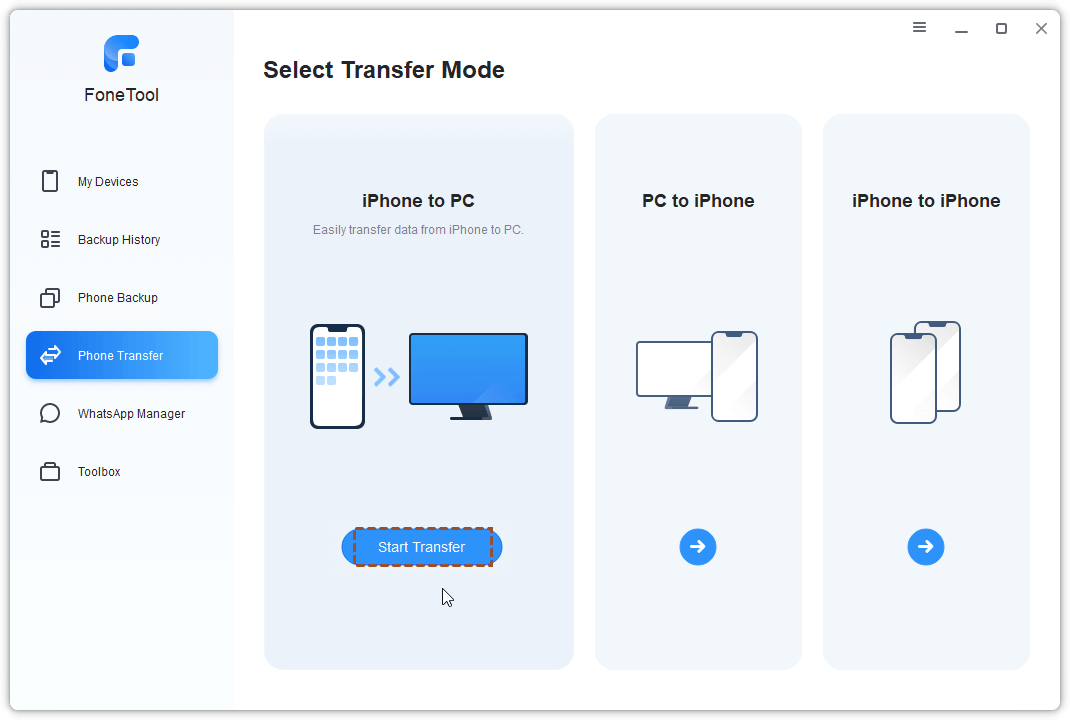
Step 2: Once the device is detected, choose Phone Transfer > iPhone to PC > Start Transfer.
- ★Tips:
- 1. FoneTool allows you to back up/transfer photos stored in your camera roll and any other albums you create.
- 2. FoneTool allows you to back up/transfer all your photos in one click or just select the photos according to your needs.
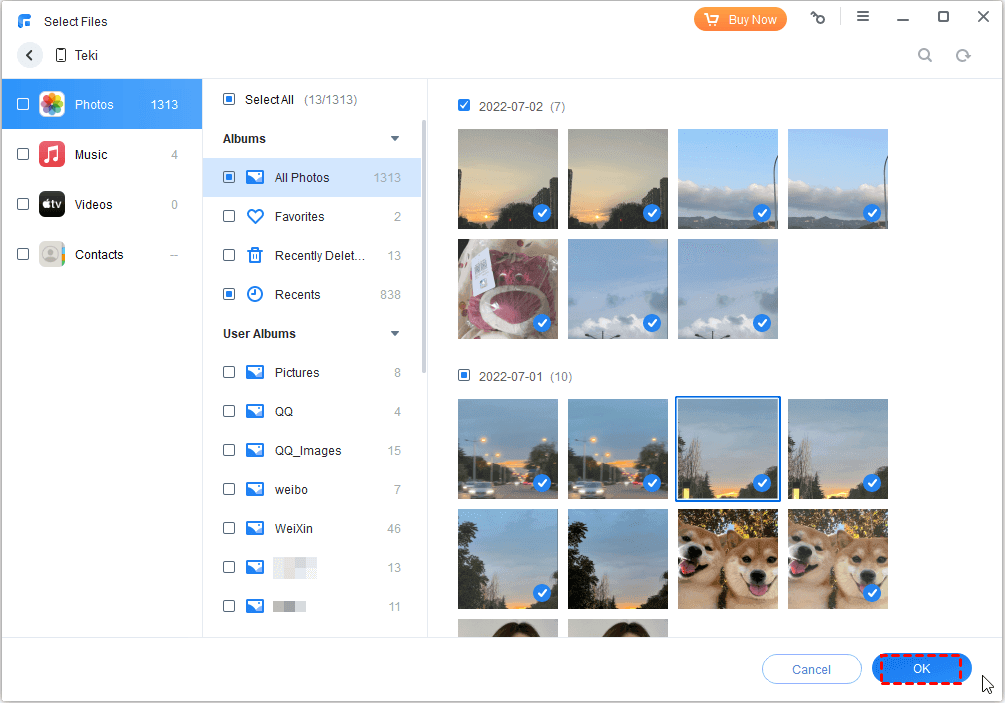
Step 3: Click the “+” icon > Choose the Photos icon > Click the Select All option or choose desired photos to transfer > Click OK to continue.
Step 4: Choose Transfer Settings to specify the destination folder on your external hard drive > Click Start Transfer to perform the transfer.
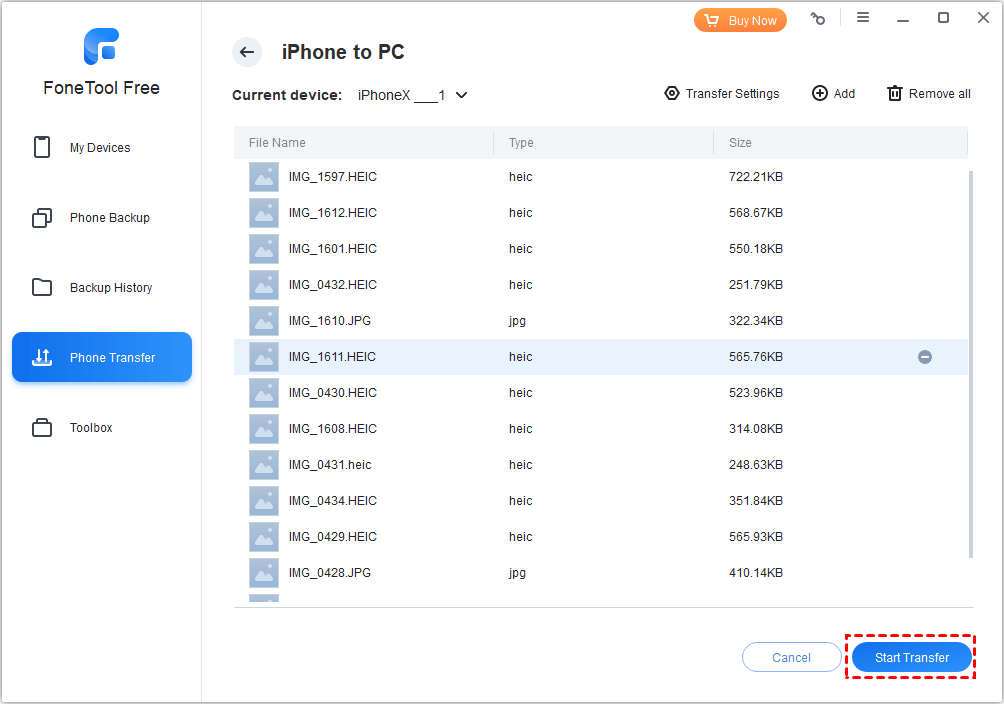
Once the transfer process is finished, click the OK button. Then, you can safely disconnect your iPhone from the computer.
- ★Tip:
- If your iPhone photos are saved in HEIC format, you can use FoneTool’s built-in HEIC converter to convert photos to JPG/JPEG/PNG format. By doing so, you can easily open photos on any device and platform.
Method 2: Import iPhone Photos to External Hard Drive via Windows Photos App
In more recent versions of Windows (8/10/11), a built-in Photos app is available to export iPhone photos to external hard drive. Here is a guide on how to do that:
Step 1: Connect your iPhone and the external hard drive to your PC and ensure that both devices are recognized.
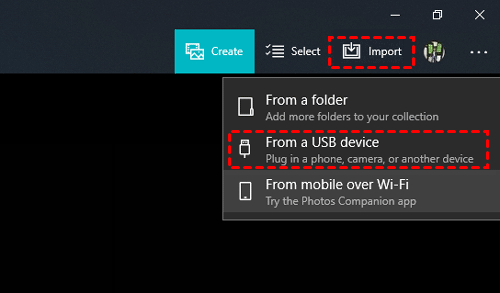
Step 2: Open the Photos app on your computer > Choose Import and the From a USB device. This will trigger the Photos app to search for photos on your iPhone.
Step 3: All the photos will be checked by default, so you need to manually choose desired photos to import. Then, access Import Settings > choose Change the import destination to choose your external hard drive as a location to save the imported photos.
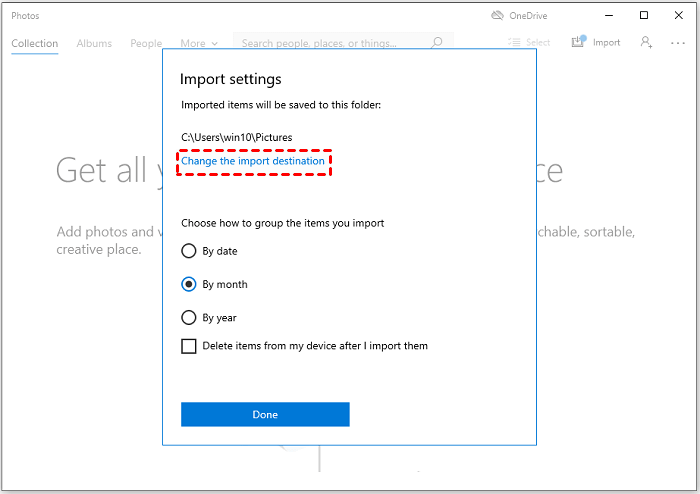
After that, click Import Selected to start moving the selected photos from your iPhone to the external hard drive.
Method 3: Copy iPhone Photos to External Hard Drive with Windows Explorer
In addition to using the Windows Photos app to import iPhone photos to external hard drive, you can use Windows Explorer to do that. Here is a step-by-step guide:
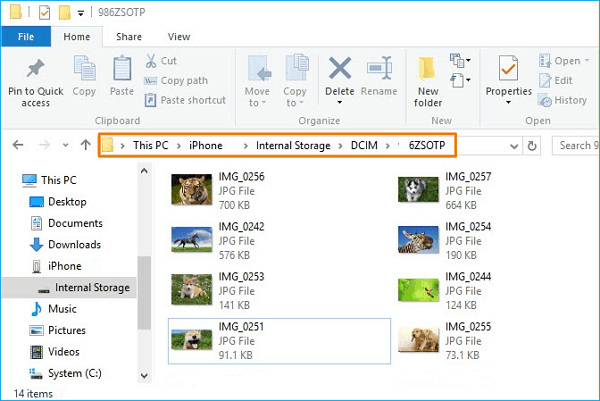
Step 1: Connect your iPhone to your PC using a USB cable > Open Windows Explorer > Go to This PC.
Step 2: Choose iPhone > Internal Storage > DCIM folder. Then, you will see your iPhone photos inside the DCIM folder.
- ★Tip:
- If the iPhone Internal Storage doesn’t show on your PC, the connection may haven’t been successfully built./dd>
Step 3: Choose the desired photos you want to transfer > Right-click the selected photos to choose Copy > Go to your external hard drive > Open and right-click the desired location to choose Paste.
By following these steps, you can easily copy and paste your iPhone photos to an external hard drive using Windows Explorer.
How to Import Photos to External Hard Drive from iPhone
If you are using iOS 8 or later versions, you can connect and utilize portable external hard drives via a lightning cable. Then, you can effortlessly import photos from your iPhone to an external hard drive. Here’s a full guide to help you through the process:
Step 1: Connect your iPhone to the external hard drive using a lightning cable > Confirm the successful connection by opening the Files app and selecting the Browse option.
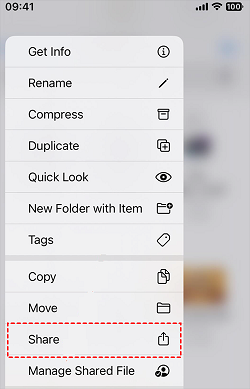
Step 2: Navigate to the Photos app > choose the specific photos you wish to import to external hard drive > Tap the Share option to initiate the transfer process.
Step 3: From the Files page, locate and select your external hard drive as the designated destination for saving the transferred photos.
How to Export iPhone Photos to External Hard Drive on Mac
If you have a Mac, you can easily import photos from your iPhone to an external hard drive using the Image Capture app. Here are steps to transfer photos from your iPhone to an external hard drive:
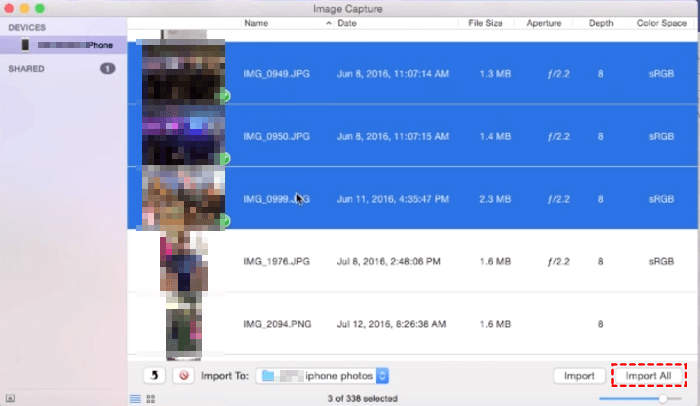
Step 1: Connect your iPhone and the external hard drive to your Mac using USB cables > Launch the Image Capture app on your Mac.
Step 2: Choose iPhone from the Devices list in the Image Capture window > Choose the Import To option from the bottom left corner of the window and select your external hard drive as the destination for the imported photos.
The Bottom Line
This post has compiled the top 5 methods to import iPhone photos to external hard drive. Among the methods, FoneTool stands out as the most user-friendly and convenient choice. This comprehensive software offers all the necessary features for iOS devices, making the transfer process hassle-free.
FoneTool supports seamless transfers between iOS and PC, providing a versatile solution for all your data transfer needs. In addition, you can use FoneTool to backup and restore your iPhone from external hard drive. Download and use it right now!
