6 Easy Fixes to iTunes error 0xE80000A on Windows 11/10/8/7
You may receive an error message with the number 0xE80000A when you connect your iPhone to computer and access iTunes. The 6 solutions in this guide help you out the iTunes error 0xE80000A on Windows.
By Demi / Updated on June 9, 2023
Error 0xE80000A when iPhone connects to laptop
I’ve been trying to connect my iPhone to my laptop to do a manual backup for my iPhone, but in getting the error 0xE80000A when it connects. My laptop is listed on my iPhone’s trusted devices twice for some reason. Can anybody help me out? Thanks in advance.
- Question from Apple Community
When you’re connecting your iPhone to a computer and intend to access iTunes, you may receive an error message by the following statement, “iTunes could not connect to this iPhone. An unknown error occurred.” The message also displays an error code 0xE80000A. If you are about to backup your iPhone with iTunes, the timing could not be worse.

Once you received the error message, iTunes cannot connect to your iPhone, let alone do a backup or any other operation in iTunes. Fortunately, iTunes-related bugs can be easily fixed. Just follow this guide, you can get 6 fixes to the iTunes error 0xE80000A.
Why you receive iTunes error 0xE80000A on Windows 10/8/7
The possible reasons that result in iTunes 0xE80000A error vary from different aspects and some of the fundamental causes are listed as follows. They can also give you some inspiration to get the bug fixed.
• A damaged USB port. Your iPhone may fail to connect to computer properly due to a damaged or incompatible USB port. Thus, make sure you connect your iPhone to computer with a stable and compatible USB port.
• An incomplete installation of iTunes. The error code may appear when iTunes program didn’t load correctly or when the installation process is only partially completed.
• Any other software and hardware error. If there are any other issues with the iTunes software or the Windows Systems File, the problem may also trigger.
6 Easy fixes to iTunes error 0xE80000A
Please disconnect your iPhone from computer before trying every solution below. It may take some time for you to try them one after another until the trouble gets fixed. If you’re in a hurry backing up your iPhone, you can also try the tool mentioned in the next part first.
1# Update your iTunes, computer, and iOS to the latest version
The outdated iTunes, computer and iOS may be incompatible with each other. Therefore, the first thing you need to do when encountering iTunes 0xE80000A error is to check and update your iTunes, computer and iOS to the latest version.
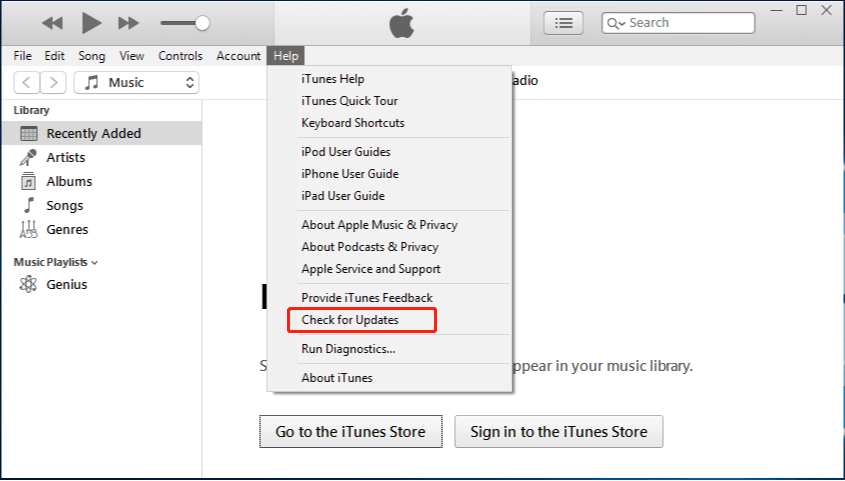
Update iTunes to the latest version
Launch iTunes on your computer > Click Help on the menu bar > Tap Check for Updates > If there is a new version available, follow the prompt to update it.
Update your computer
Go to the Settings on your computer > Choose Updates and Security > Tap Check for Updates to update your Windows to the latest version
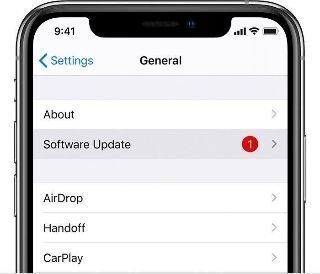
Update the version of iOS on your iPhone
Go to the Settings app on your iPhone > Tap General > Software Update > Click Install Now if you can update iOS.
2# Reset lockdown folder
Created by iTunes, the lockdown folder is actually a hidden folder that contains security certificates which is essential for iOS devices to communicate with computer successfully. Chances are that the iTunes error 0xE80000A can be fixed by resetting the lockdown folder. Here is the reset process.
Step 1. Press both the Windows key and the R key to open the Windows Run Box > Type %ProgramData% and click OK.

Step 2. Locate and double-click the Apple folder from the File Explorer screen that shows up > Right-click the Lockdown folder > Tap Rename to rename the folder to Lockdown.old.

Now you can try to relaunch iTunes and connect your iPhone to computer to check whether iTunes could connect to the iPhone or not.
3# Disable antivirus and firewall software on PC
Sometimes third-party antivirus or firewall software may prevent your computer from communicating to your iPhone. You can temporarily pause or uninstall the antivirus and firewall software and reconnect iPhone to computer to have a try.
4# Restart Apple Mobile Device Service
It’s useful to restart Apple Mobile Device Service when you have trouble connecting or disconnecting iOS devices to computer. When iTunes says it could not connect to this iPhone, an unknown error occurred 0xE80000A, you can try this way.
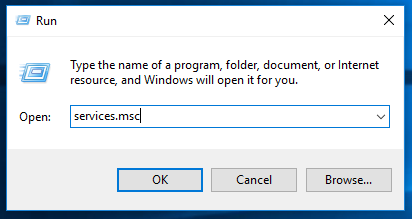
Step 1. Press Windows +R key to open Windows Run box > Type service.msc >Tap OK.
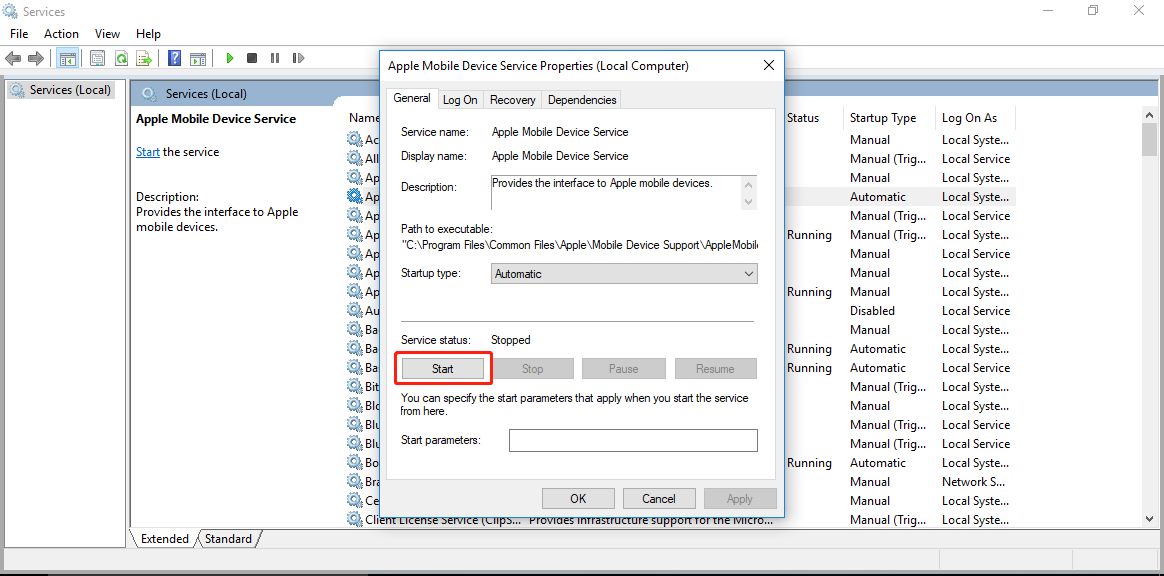
Step 2. Scroll down to look for AppleChargerSrv > Right-click Apple Mobile Devices Service > Click Properties.
Step 3. Make sure the Startup type is set to Automatic and click Start > Then, hit OK to save it.
Now, you need to restart your computer and connect your iPhone again to check whether iTunes can work properly.
5# Reset Location & Privacy Settings on iPhone
Sometimes, the location and privacy settings on iPhone may be corrupt, which can also be a reason why you encounter iTunes 0xE80000A error. Reset location and privacy settings on iPhone may fix it.
Go to the Settings on your iPhone > General > Transfer or Reset iPhone > Tap Reset > Choose Reset Location & Privacy.

6# Uninstall and reinstall iTunes
If none of the solutions helps you out, you may need to uninstall iTunes to clear corrupted data and install iTunes to your computer again.
To uninstall iTunes, go to Settings on your computer > Locate and tap Apps & features > Tap iTunes to uninstall it from your computer.
Note: Please make sure there’s no file left after uninstalling iTunes. You can go to the folder entitled Common Files > Double click the Apple folder and clear it out. You may also need to head to the Recycle Bin to empty it.
Now, you can restart your computer and download iTunes to your computer again.
Recommend: Best iTunes alternative to backup your iOS device
Since you may encounter kinds of unexpected errors in iTunes, it is more suggested to try a more professional backup tool named FoneTool, which is designed for iOS devices.
★ Two types of backup functions. You can create a full iPhone backup like what you used to do in iTunes. You can also backup only certain files on your iPhone to computer with FoneTool.
★ Clear interface and simple operation. It requires only a few clicks to complete the backup and restore process. The simple interface makes the tool easy to handle.
★ Free to view and location backup files. FoneTool allows you to locate and browse backup files with one click.
★ Wide compatibility. FoneTool supports iPhones from iPhone 4 to the latest iPhone 14, iPad and iPod Touch. It can work well with iOS including the latest iOS 16 and Win 11/10/8/7.
Click the icon below to get FoneTool. Let’s backup iPhone to computer without any trouble.
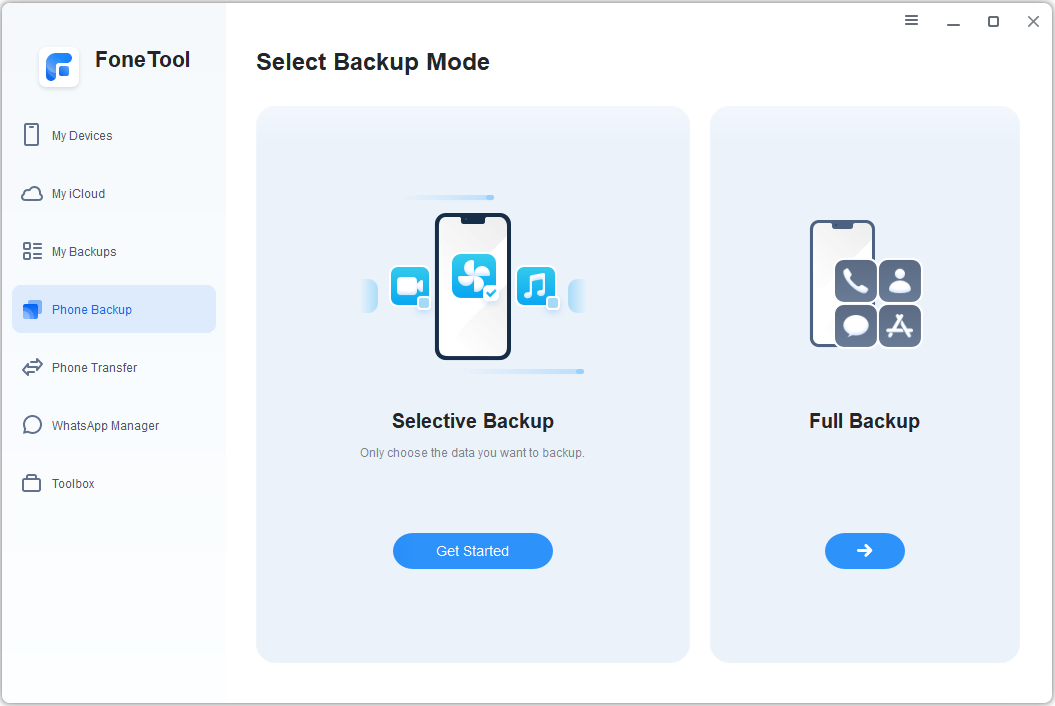
Step 1. Connect your iPhone to computer with USB > Launch FoneTool and click Phone Backup > Go to Selective Backup and click Get Started.
Step 2. Check each icon to preview and choose the files that you want to backup to computer > Click OK to confirm.

Step 3. Choose a destination to save the backup file > Click Start Backup to begin the task.

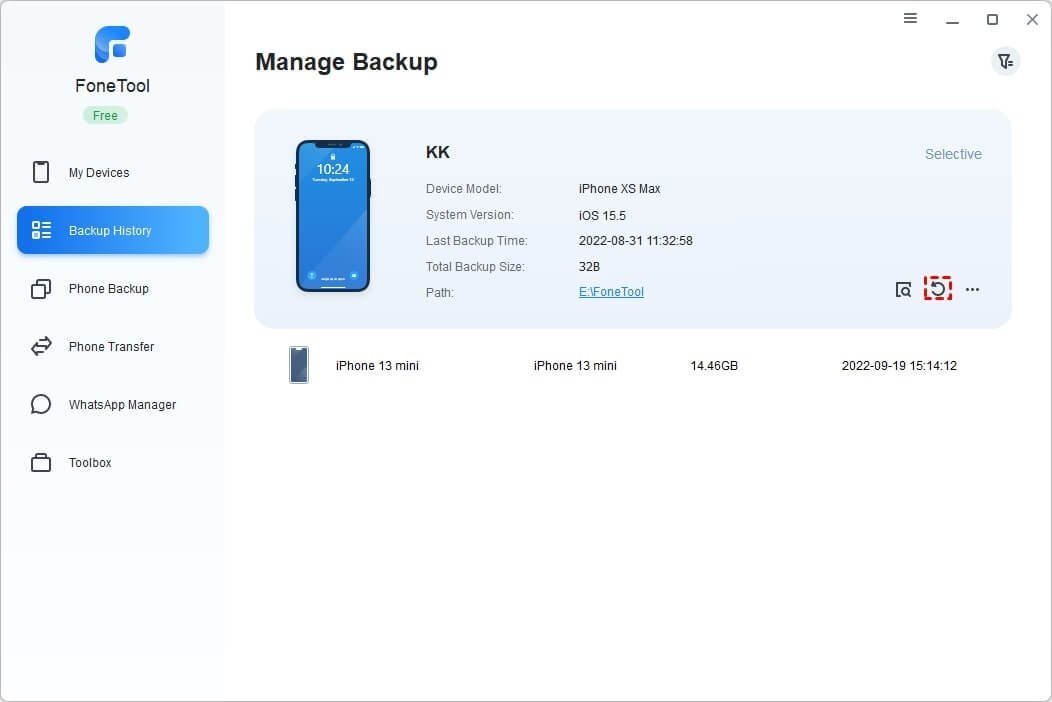
When the process is finished, you can browse and restore the backup by visiting the Backup History in FoneTool.
Besides the powerful backup functions, FoneTool also allows you to transfer data from iPhone to iPhone without backup. You’re free to choose to transfer all or selective data from one iPhone to another.
Conclusion
That’s all for the 6 fixes to iTunes error 0xE80000A on Windows 10/8/7. Hope your trouble can be solved by one of them. iTunes is not the only tool to backup iPhone to PC, you can also try other professional backup tools like FoneTool introduced in this guide. Is this guide helpful for you? Please share it with others.
